After I published the previous page I received some really helpful comments from members of the LX200 Yahoo group. On this page I report on some further experiments I did as a result of this advice.
- I had been concerned that I might have tightened the alignment screws too much and distorted the secondary. (I have since been assured that this is most unlikely.) So I started by loosening all three screws exactly ¼ turn.
- One member suggested that my camera was not straight with the telescope, and another wondered if the cable from it (which is horribly stiff) was pulling the camera off straight.
Either may be true. I tried to assess whether there was play between the camera and the telescope. I wasn't sure that there wasn't, so I rigged rubber bands between the back of the camera and the ETX125 mounted on top of the LX200 to pull the camera upwards, and I routed the cable over the declination bearing. I could see no significant change in the pictures, but left these things in place throughout these tests.
- Another member suggested that maybe the T-ring adaptor was not quite straight or that the filter holder might not be completely rigid.
I haven't checked this specifically, but the camera really isn't noticeably off straight.
- A third suggestion was to try to rotate the focal reducer and see if the problem rotated with it.
In order to try to do this, I cut a plastic gasket to fit between the telescope and the lens. Unfortunately it achieved a rotation of about 7/8 of a turn, so the orientation changed by only about 45°. I left it in place throughout these measurements. I cannot see any effect but that is not definitive. I need a second gasket to get a 90° rotation, or better something thicker to get a 180° rotation.
- Finally Brian Martindale pointed out that, if you look very carefully at my pictures, the effects look like coma. Nearly all the stars show a trail and the trails point away from a point right of centre (near the star pointed to by my green arrow).
I had rather rejected coma for two reasons: (1) it didn't look like coma as shown in the books (for example), and (2) I didn't appreciate that coma is a real problem with SCTs.
As a result of Brian's suggestions, I researched coma more thoroughly and discovered that it is a characteristic of SCTs which are seldom made faster than f/10 for that reason. However one reference suggests that at f/3 I should get 9 mm of coma-free image and my chip is only 6.5 mm long. But if poor collimation was pushing my optical axis 5 mm off to one side, maybe my sensor is in the coma zone.
So I was left with the impression that what I am seeing may be coma enhanced by poor collimation. I hadn't checked my collimation for a long time because I can very rarely see stars steadily enough to do collimation by the usual technique of looking at a star under high magnification and looking for symmetry of the Airy pattern. Looking at stars out of focus looked good until the shimmering image prevented improvement.
I started by repeating the last experiment on page 1.
|
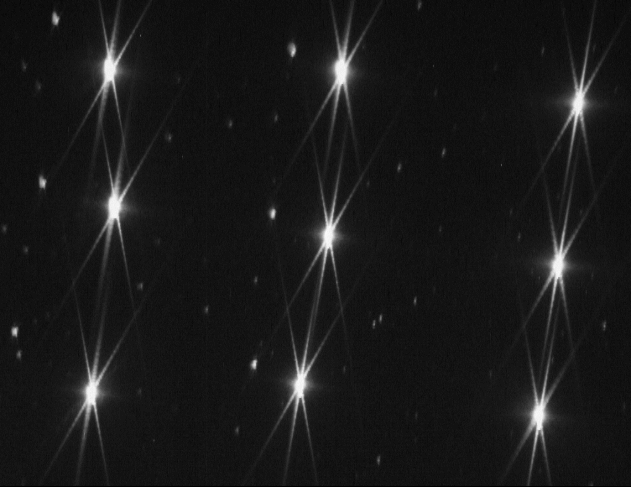
I imaged the star Procyon in nine positions and then superimposed the pictures. (There were other stars in the field giving rise to the blobs all over the picture.) In this picture the mask was set vertically. In the mouseover you can see the same thing with the mask rotated 90° clockwise (as seen from the camera). I see no great difference from the images on page 1
|
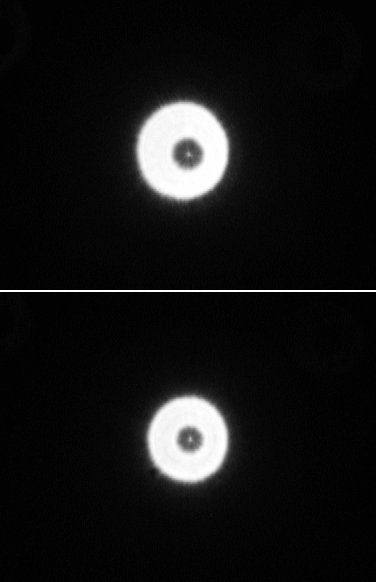
I decided I wanted to check on collimation with this set up, so I imaged the star out of focus at the centre of the frame.
|
The upper picture here was taken as things were at the start. It is evident that the system is out of alignment. I adjusted the alignment screws until I was satisfied that the picture was symmetrical indicating I had collimation at the centre of the image. The lower picture shows the final position.
|
I moved the star around the frame and made these composite images.
|
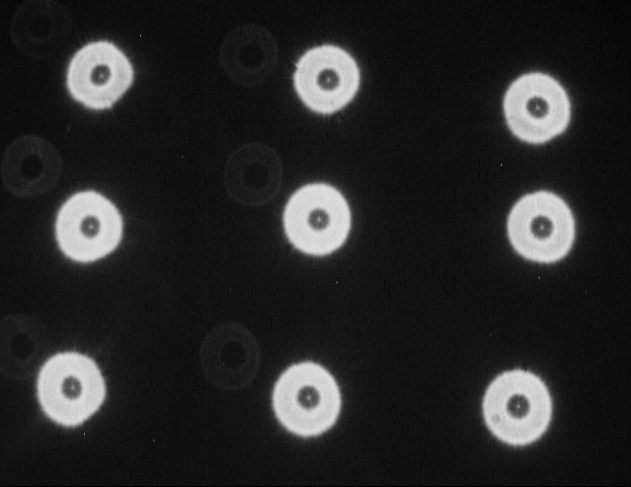
The image here shows the out-of-focus star in nine positions. These pictures are rather over-exposed but show a faint image of a second star in the field, and the central spot in the main image. In the mouseover you can see a shorter exposure which shows the main images more clearly. The thing that intrigues me most about these images is that the outer shape becomes distorted off axis. (I'm sorry I was getting a bit sloppy about positioning the images.)
There is an interesting thing in the main image here. Look at the central bright image and compare it with the faint image closest to it. The faint image looks more asymmetric than the main image, and more asymmetric than the main image with which it was taken (the middle, right-hand image). Indeed it is more asymmetric than the corresponding images in the mouseover image. I don't understand it.
|
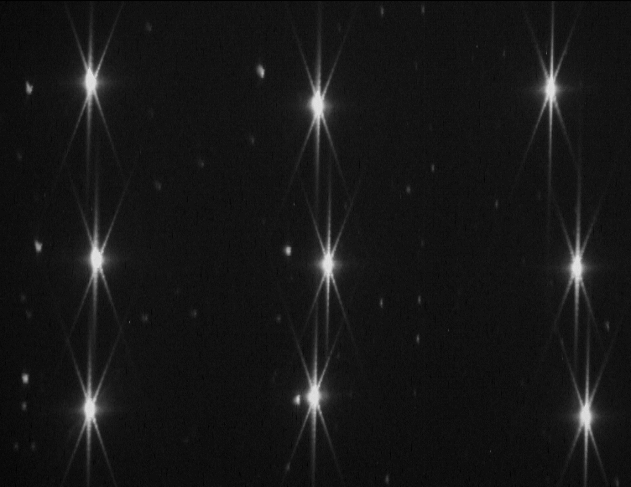
Finally that night I rotated the camera 180° at the connection at the back of the focal reducer and took a series of pictures with the Bahtinov mask in place. My aged brain doesn't work too well at 2 o'clock in the morning and freezing temperatures, so this experiment is not really what I intended as I don't have a directly comparable picture with the camera aligned normally. The picture here has been rotated back again in software and looks to me very similar to the pictures above. This seems to indicate that the anomalies are in the telescope-FR and not in the camera or adaptors.
|
This picture shows a single star imaged through the Bahtinov mask in nine different positions. The camera had been rotated 180° and the image rotated back again to make it comparable with the similar picture above.
|
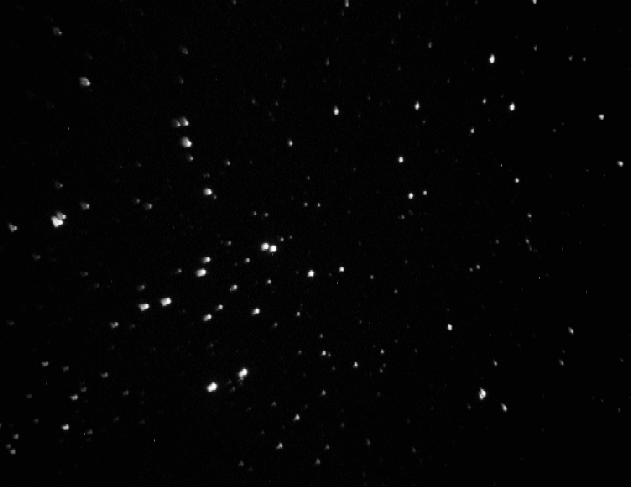
By the time all this was finished, M34 was way out of view and I didn't feel inclined to search for another cluster at 2 o'clock in the morning. However the next night was clear for about an hour after sunset, so I took a picture of M34 and then fiddled with the alignment screw in the RA direction to see if I could improve the symmetry of the coma. I had to refocus each time which made it a slow process.
|
This is the picture of M34 taken after all the experiments above. In the mouseover you can see the picture taken after a quarter turn anti-clockwise of the screw in the RA direction. I thought this was much better, but in my rush to get this done before the clouds rolled in, I forgot to put the exposure back to 10 seconds to make it comparable. I have superimposed the pictures and I am no longer sure that it is better. I need to do it again.
|
    Home     Equipment     Part 1    Part 3    Part 3    Part 5
                           Part 6    Part 7    Part 8    Part 9
