
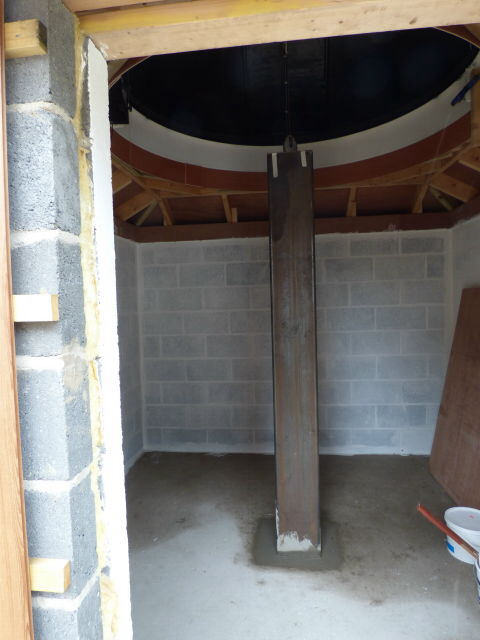
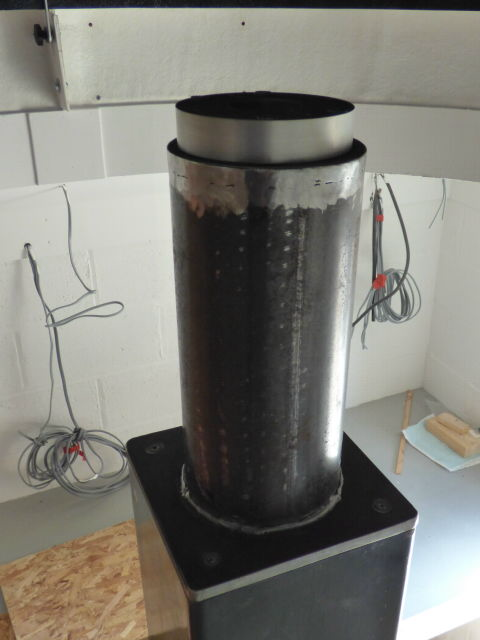
The main pillar is 6mm steel, 250-mm square and 3 metres long, of which 730 mm is bedded into a 450-mm square by 730-mm deep block of concrete. The inside will also be filled with concrete to about a 730-mm depth, the rest we will fill with builder's sharp sand. A pier, 400 mm high and 150 mm diameter, will be fixed to the top and to the top of that will be an iOptron adaptor plate to which the mount (an iOptron iEQ45 Pro) itself will be fixed.
The pillar will be rubbed down and painted to stop it rusting.
|
The pillar in place, seen from the doorway. |
| |
|
|
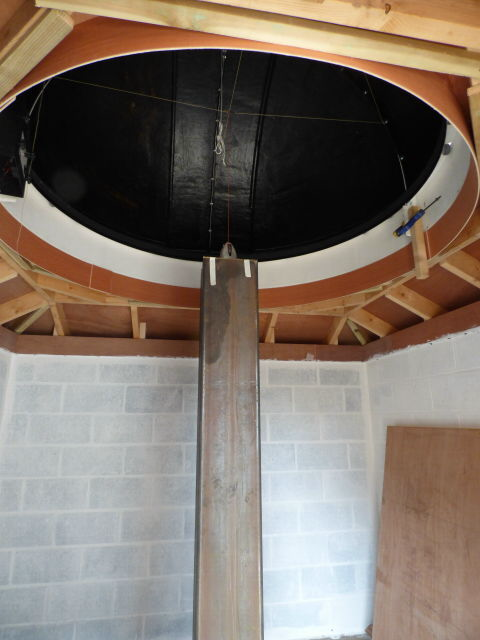
A view looking up into the dome. The builders ensured it was centred in the dome by stretching strings across the dome and hanging a plumb line from where they cross. |
| |
|
|
The top of the pier. The round part is a greater diameter than I wanted. The fabricator explained to me that if he had made the diameter equal to that of the iOptron plate at the top, he could not have made the necessary screw holes that close to the edge. Hopefully the increased size will not effect my ability to image significantly. The larger diameter will increase the stiffness of this part of the column. The iOptron adaptor plate at the top has a large hole in the centre (see picture below) where there needs to be a 12-mm pin about which the mount rotates when adjusting the azimuth. I am having an insert made to provide the missing pin. 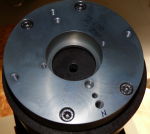
|
|
The insert cost me Ł25 on top of the Ł65 cost of the adaptor plate. (The words "ship" and "tar" come to mind.*) It made the adjustment of azimuth free of backlash and consequently so much easier when aligning the mount to the pole. | |
| * We British have a saying "to spoil the ship for a halfpenny-worth of tar". | |