
I left the assembly of the dome to the builders who had all the best tools for the job (and it was as new a job to them as it would have been to me). The job needs some care; the instructions warned that it was important to get the outer edges of the sections properly aligned and that we should not rely on the bolt holes aligning correctly. I gather this was true and some holes had to be eased with an 8-mm drill. Sealant is provided to go between the sections to ensure that they are water-tight, and all necessary nuts, bolts, and washers are also provided.
The pictures below show some key moments in the installation of the dome on the roof.
|
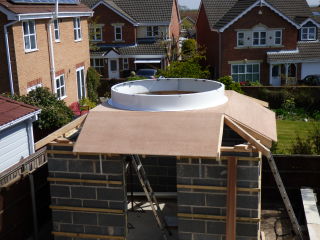
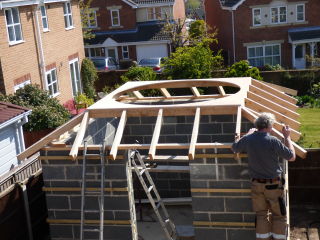
| The flat part of the roof has been covered with 18-mm ply with a large hole cut to take the short wall. | The short wall has been placed over the hole and fixed down by drilling holes in the flat base and screwing it to the plywood underneath. |
|
| |
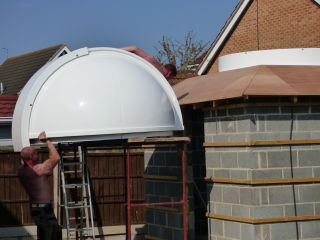
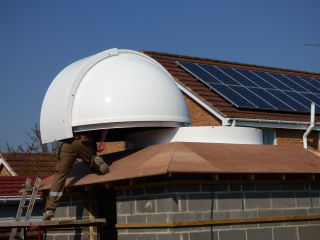
| The dome is light enough to be picked up by two men, but it needed some fairly burly men to manoeuvre it onto such a high roof. | Firstly onto a building platform and thence up the sloping roof. | |
|

| |
| With one man under the dome and the other lifting from the other side, they manoeuvred it into position. | It needed some squeezing and easing to get it to drop into the short wall where it is supported and aligned by wheels fixed to the wall. | |
|
I am disappointed by how difficult it is to rotate the dome by hand. At times I had to brace myself on the short wall in order to move it. I think the problem is that the instructions said to ensure that the outer edges of the dome were accurately aligned before the bolts were tightened. The important thing is that the flange where the side wheels engage is well aligned. In my case this didn't happen, despite the outer edge of the dome being carefully aligned, and there is one join that causes difficulty when passing one of these wheels. | |
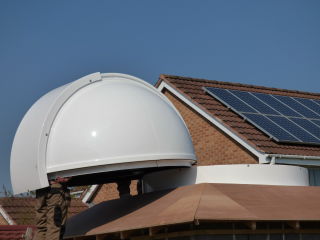
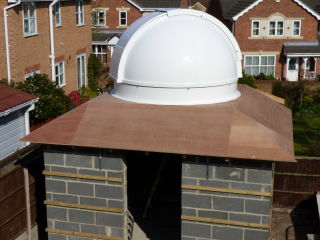
| And the dome is in position. |