
The roof is complete. This sequence here follows on from an earlier picture
|
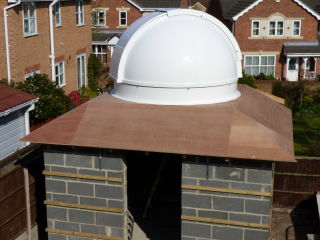
Firstly the entire roof was clad in plywood. The flat part of the roof was built up with some pieces of plywood and some cleaver fitting around the circular dome. This was to give it some slope so that the rain will run off. |
The main, sloping part was covered in Metrotile Shingle. This looks like tile but is actually made of steel and successive layers clip together so that only the top and the bottom need to be fixed. The top layer has been bent over and fixed down to the "flat" part of the roof. This part was covered with a liquid roofing material called Elastaseal. This is painted on with a paint brush and sets to a rubber-like material which is flexible and completely water tight. Several layers are put on, with fibreglass being layered into one of the layers to give extra strength. After the last coat had set fully, the same natural-stone chip granules that are used by Metrotile were stuck on using a special adhesive to make this part of the roof match the sloping part. The result is a roof that matches our conservatory exactly as that uses the same Metrotile.
|
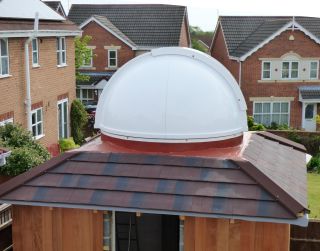
The first stage was to cover the sloping roof with Metrotile, and to put on the first coats of Elastaseal. These layers were the main waterproof layers which contain added fibres for strength and in which a fibre-glass web was embedded. The supplier sent the wrong ends for the ridges, so the correct ones will be added later, along with the guttering. |
| |
|
|
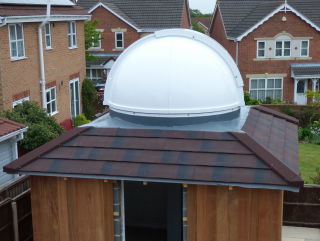
The final, grey coats of Elastaseal are particularly weather resistant and UV stable. The correct ends to the ridges have been fitted. |
|
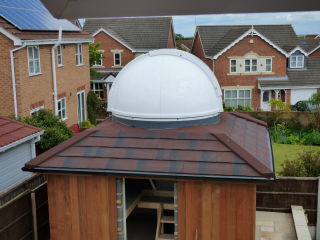
And here is the final roof. The colour layer has been put on the Elastaseal and the gutters have been fitted. The latter drain to the ground at the far side of the building. |