
I decided to cast my pillar in two parts. This will produce a pillar with a weak point where the two parts meet, so I decided to join them with reinforcing rods. The decision to cast in two parts was based on practicalities. I didn't feel I could cope with the labour of mixing the whole thing in one piece (I am 71!) and I didn't really want the shuttering to go right into the ground. Doing it in two parts gives me a hard surface to sit the form-work on and should help me get it vertical.
|
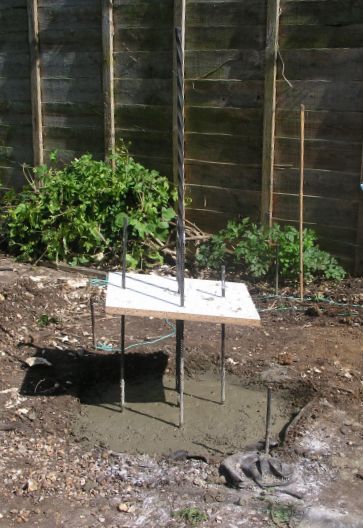
I have dug the hole and filled it with concrete. The hole is only about 50 cm deep, but this got me down to the subsoil with is a mixture of stones and something between clay and fine sand*. I felt that this was deep enough. You can see five rods at this stage. The central rod is a 10 mm twisted rod 2 metres long which I drove into the ground until its top would be below the top of the pillar and helps to secure the pillar to the ground. The other four rods penetrate very little into the ground and their purpose is the strengthen the bottom part and help to secure the upper part. The board is a template with holes to locate nine rods, the five in this picture and four more that extend from within the lower part to near the top of the upper part. * My son-in-law helped me dig a pond and we argued over whether it was sand or clay we were digging out. So we asked his wife (my daughter, of course) who has a degree in geology. She explained that the only difference between sand and clay was the size of the grains, so we had something in between. Very diplomatic! |
|
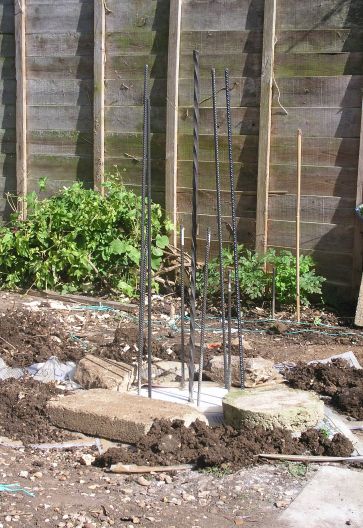
The end of the first day. I've moved the template down with clingfilm between it and the concrete to ensure it does not stick, and put the four more reinforcing rods into their holes and checked that all rods will be below the top of the pillar where the bottom part of the wedge will be set. I left it like that for four hours, covered over to prevent the concrete drying out on the surface. After that time I realised I had left the weights resting partly on the template which would be pressing it into the concrete, something I didn't want to happen, so I removed the weights and eased the board up slightly to ensure it was no longer in contact with the concrete which was already begining to set. I left it like that over night. |
|
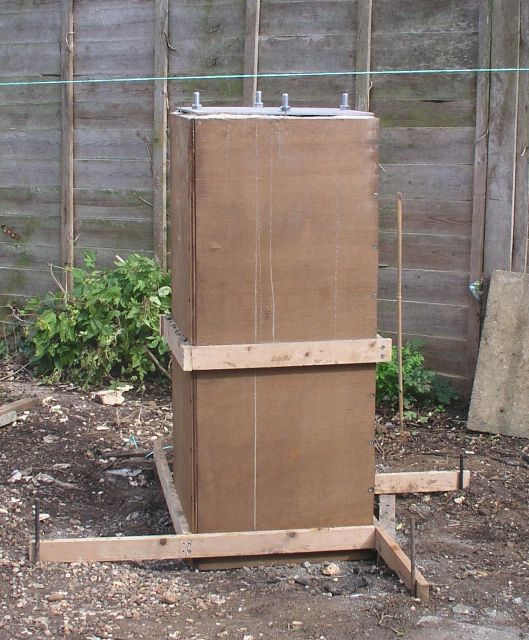
The next day I put the shuttering into place to form the main pillar. The shuttering was made from 12 mm plywood with each side overlapping the next and secured with screws every 10 cm. When filled with concrete, the bottom part was going to have to hold a considerable weight so just to be on the safe side I strapped the box at the bottom and midway up with four more pieces of wood overlapped in the opposite direction to the box. I left the lower brace with extensions which I used to level and secure the position of the box. After filling the box with wet concrete, I added the base plate for the wedge wriggling its retaining lugs into the concrete, and then adjusted it to be aligned with my north-south line, carefully covered it with a large sheet of polythene and left it to set. I plan eventually to remove the shuttering to ensure that the luggs are well secured in the concrete and, after a while to allow the concrete to dry out, put it back for improved appearence and to give me a surface on which I can secure anything that needs to be secured to the pillar. |
|
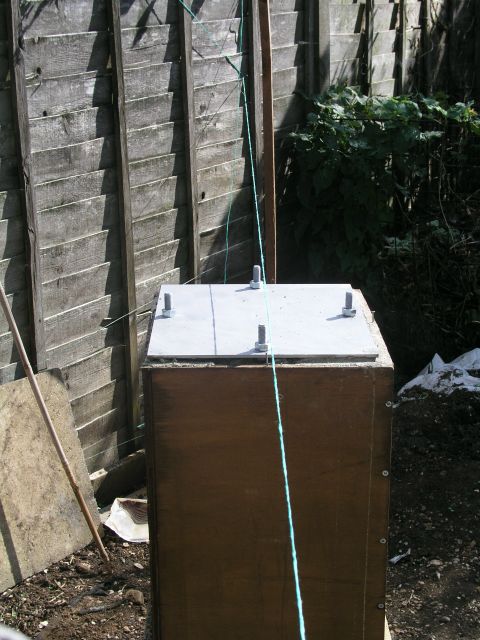
Finally the view along my north-south line. When I took this picture I forgot about the parallax between the viewfinder and the lens, so the alignment string does not appear directly over the bolts but I think you can see that they are in the same direction. I just hope it is true north.... |