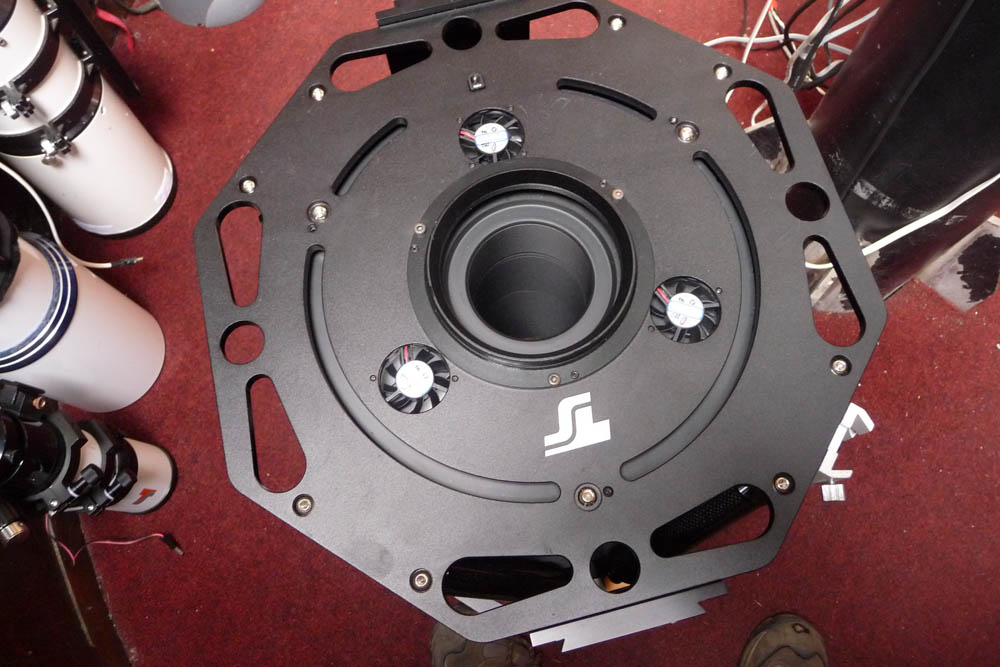
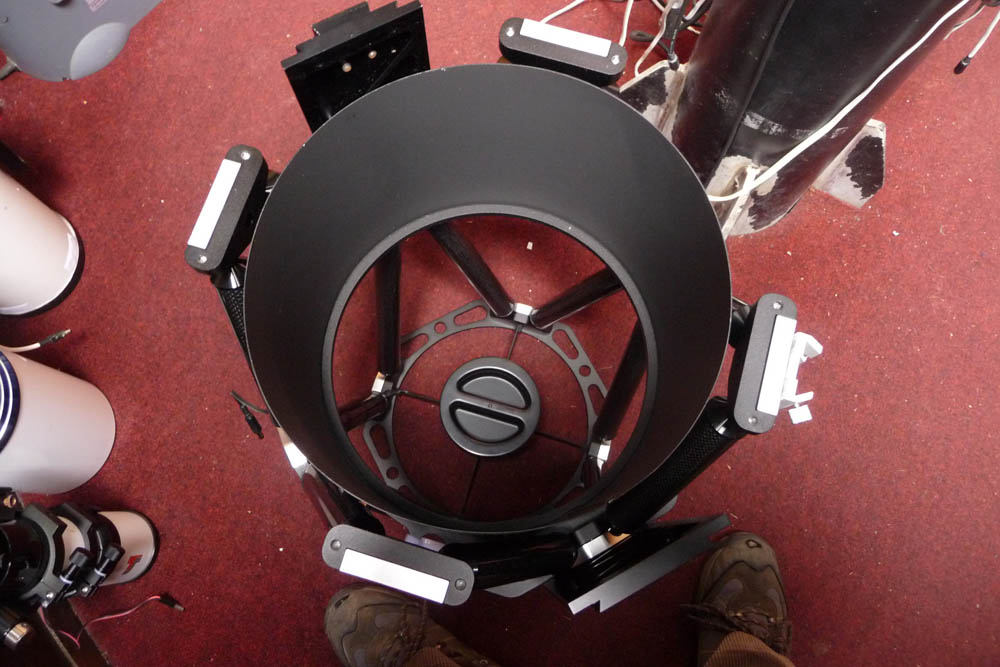
The primary mirror on this telescope is open to the elements, and unfortunately one evening I was caught out by a heavy shower while the telescope was open to the sky, and the primary got a good splashing. Although primary mirrors can still function with considerable pollution, I was far from happy with the appearance once it had dried. So I decided to clean it. The Truss tube version of this telescope is very easy to dismantle - all assembly bolts are external. The first thing to do is unscrew the focuser and set it aside. Here is the telescope with the focuser removed.
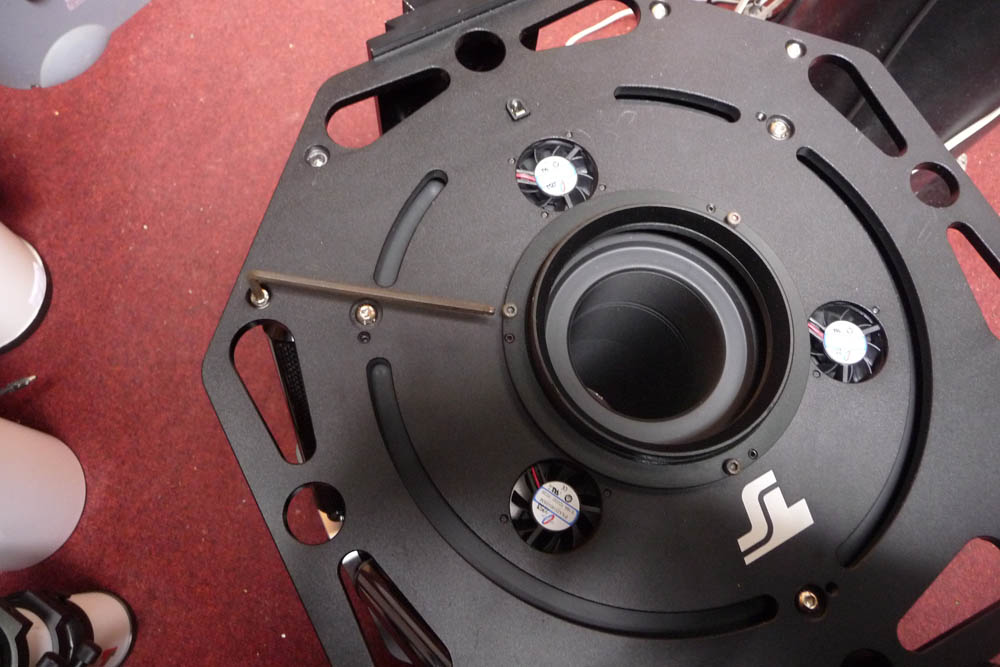
Next remove the fixing bolts for the two Losmandy type mounting plates. It is only necessary to remove the bolts to the backplate - leave the front end alone.
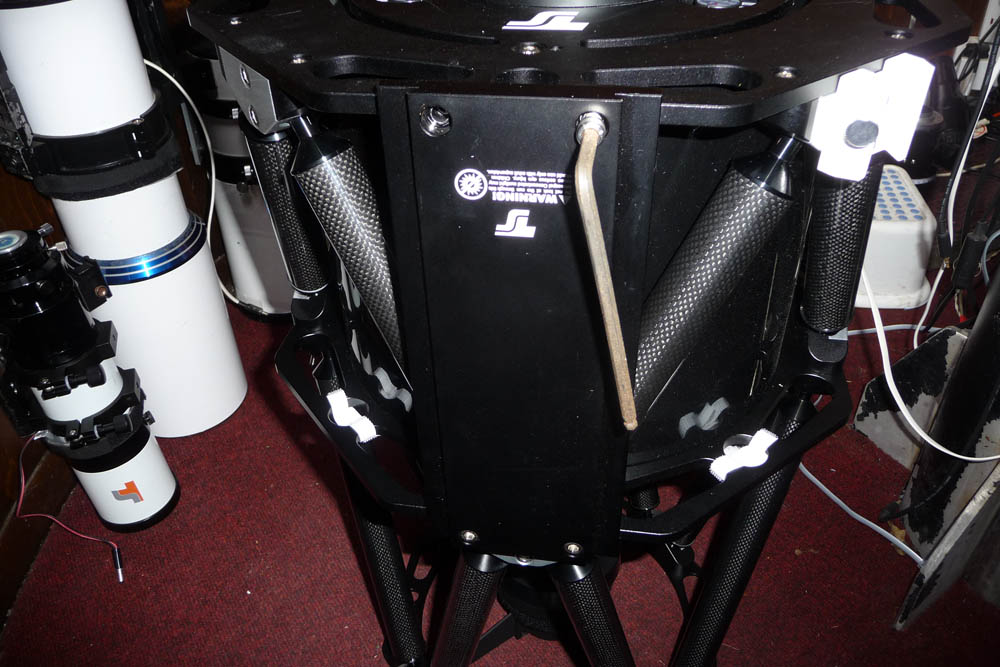
Then remove the eight bolts which attach the back plate to the truss assemblies. Do not touch the truss clamps, and do not get mixed up between the collimation adjusters and the main truss attachment bolts. Make a note of the position of the backplate with respect to the rest of the telescope - if it is not replaced in the same configuration it is very probable that collimation will be considerably affected.
The rear assembly then lifts off cleanly from the rest of the body, leaving the inner shroud behind and everything else still aligned.
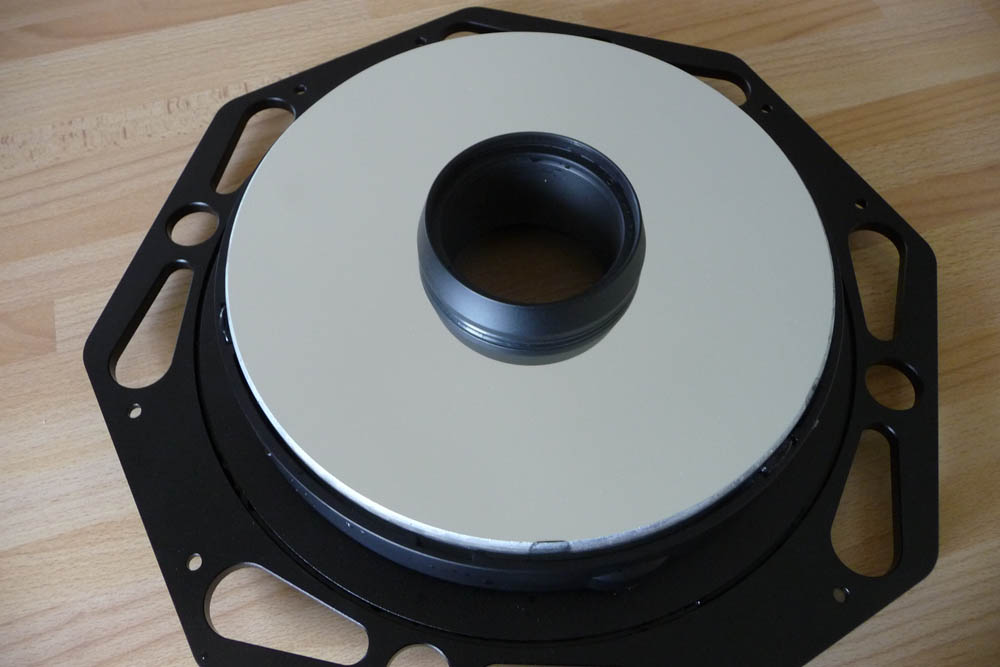
Here is the mirror exposed, with the baffle tube still in place.
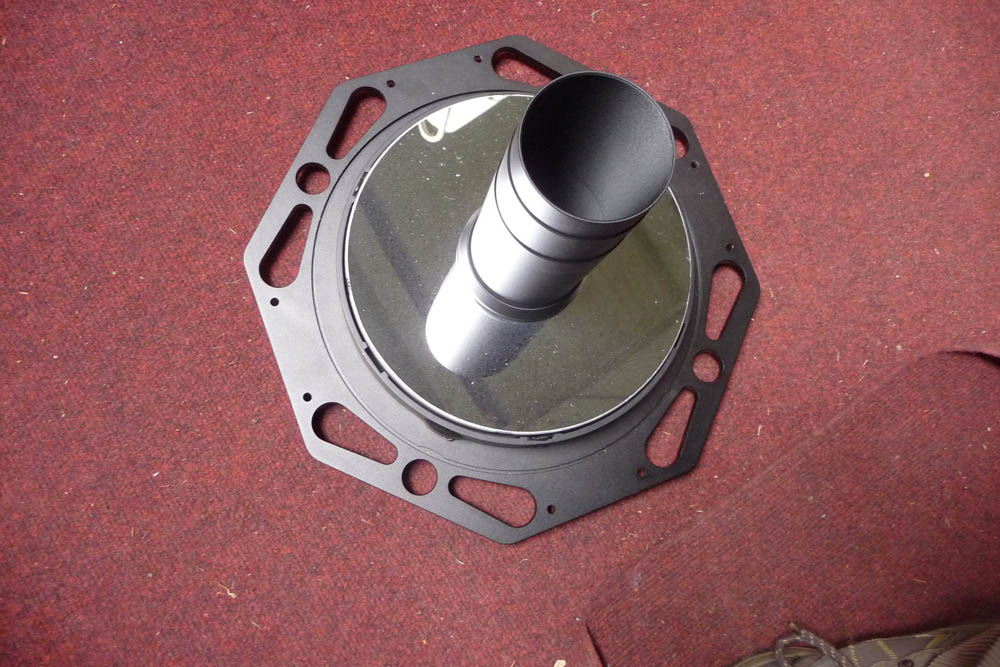
The baffle tube simply unscrews giving full access to the mirror. It doesn't look too bad in this picture.
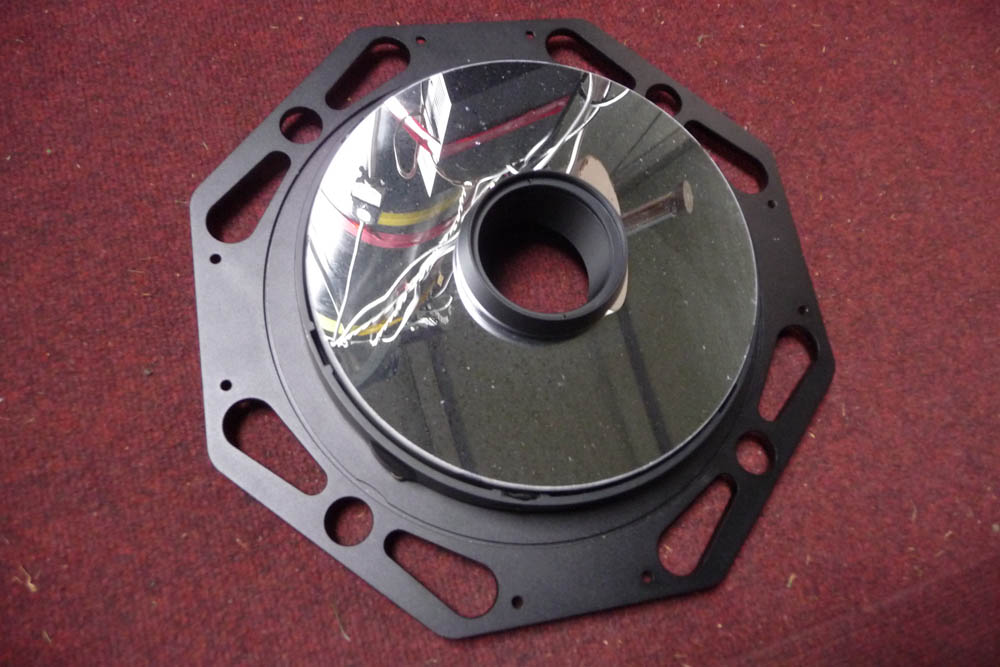
But angle the light, and it's a different story! It can be seen where I attempted carefully to clean the mirror in situ, but it quickly became clear that this was not going to be a safe or effective solution. So a full clean was in order.
It is not necessary or advisable to remove the mirror cell from the backplate. Not only will it be difficult to replace, with the need accurately to line up the collimation/fixing screws and tension springs, but full collimation will then be required. By leaving the mirror on the backplate collimation is preserved, with perhaps only a very slight tweaking of the primary collimation needed on reassembly.
Different people use different methods for cleaning primary mirrors, but whatever method is used, it must be treated very gently, and care taken not to wet the cooling fans. In my case I stood the assembly on edge in the kitchen sink and thoroughly flushed the face of the mirror with tepid water from the mixer tap to wash away any loose particles.
Warm water with a dash of washing up liquid was then applied wiping gently with soaked cotton wool balls, turning and replacing frequently. A final clean again using cotton wool balls with a 60/40 mixture of Isopropyl Alcohol (Propanol) and distilled water.
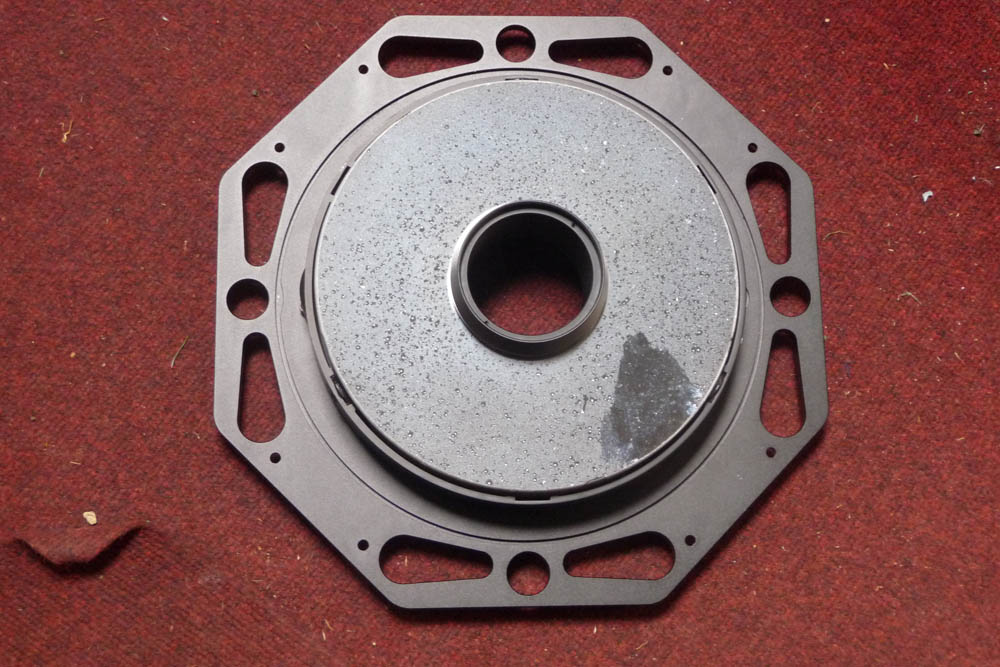
A thorough flushing with distilled water until it drained clean finished the job. The few remaining drops were wicked up with paper towels using just the corners and edges so as not to leave fibres on the surface. And the final result was most satisfactory. Reassembly is simply a reverse of disassembly. I usually only find it necessary to clean the mirror once a year at the start of the season in the Autumn.
Hint: If you have an electro-mechanical dehumidifier (not the small cheap type which uses disposable chemical refills), the liquid captured by it is distilled water, certainly of a good enough quality to be used for flushing the mirror. Just make sure the water tank is kept clean.