Quickcam Grayscale

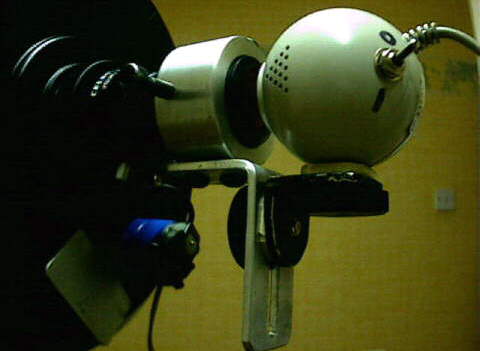
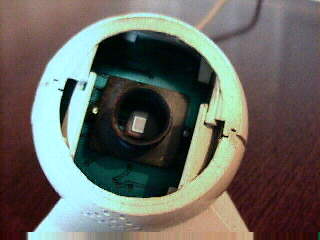
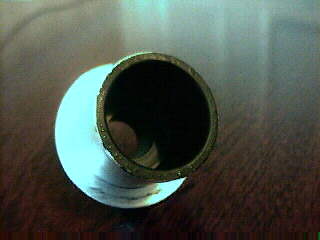
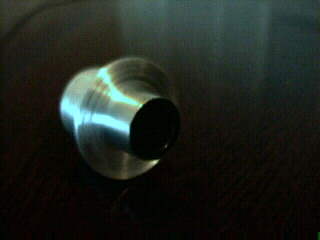
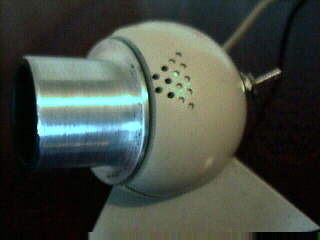
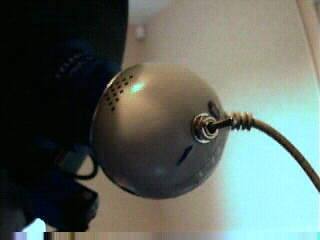
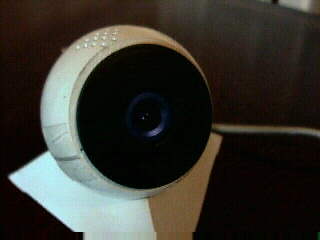
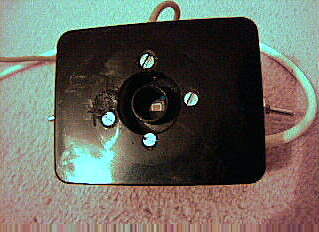
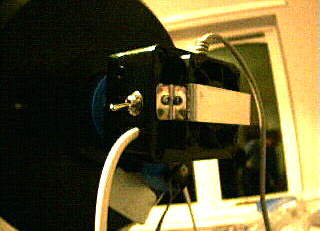
By Connectix, the Quickcam Grayscale is an older design capable of long exposures. It is now difficult to find, but I was fortunate in getting one from America in July, courtesy of Colin Bownes - thank you, Colin. I've now got to grips with it (August 2000), and started imaging. Most users remove the lens and Infrared filter and mount the camera's circuit board in a project box. For the moment I've left it in its original sphere.

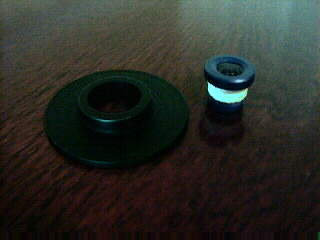
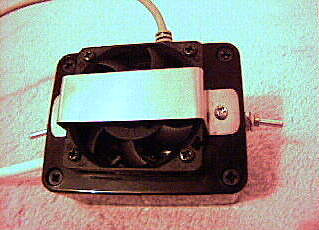
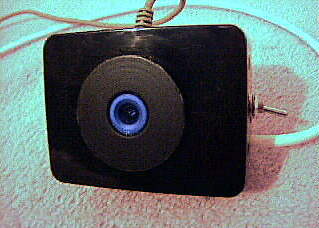
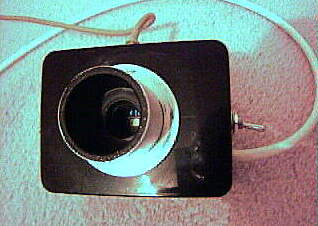
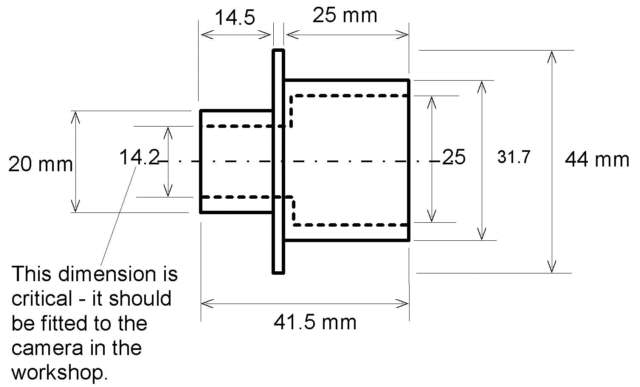
LATER - I've now removed the Infrared filter, but my first images were taken with it in place. So far I've only used it afocally, and made a mount for that purpose. The extended vertical slot allows me to use the mount with my Vcam, instead of fitting my larger Video Camera mount. The switch on the side of the camera is to switch off Anti blooming .This is essential for faint imaging. Anti blooming is still useful for bright objects, hence the use of a switch. There is lots of information about the use of this camera on the QCUIAG site.

Later again - I've now (August 29th 2000) modified the camera for prime focus use, but retained the lens carrier so that I have the option of afocal setup for wider field images. I cut off the front of the plastic ball flush with the internal clips (alas, all but one have now broken off!) and then fitted a turned aluminium adaptor to the lens carrier. I also made an Aluminium disc and glued in the lens to both protect it and stop anything falling inside the camera when it was being used afocally. See details below:

Camera with lens removed and front cut off. Sanded square and smooth on a flat surface.

Aluminium Adaptor, sprayed matt black on the inside. Drawing available - just click here.

---

Camera with adaptor - a push fit on the lens carrier.

Camera fitted at prime focus of my Celestar 8.

Lens and shroud, and both fitted to the camera for afocal imaging. The lens is permanently glued into the shroud.

---

Prime Focus Deep sky photos in the gallery.

 In September 2000, I finally succumbed to the lure of cooling, and refitted the electronics into a project box with a cooling fan. See the QCUIAG site for various adaptations on this theme. I used a fairly deep project box so that I could continue to use the camera and eyepiece arrangements shown above, and fitted a 1/4" threaded plate into the base for afocal use. (But see the postcript at the bottom of the page)

A short piece of thick walled plastic tube acts as a spacer between the circuit board and the front of the project box. Glued to the circuit board, but screwed to the box for ease of access. Don't ask about the out of place screw (the drill slipped!) :-(

15 Kb

A 12 volt computer processor ball bearing brushless cooling fan (£5.00 from my local computer parts store) fitted to the back with a guard. I wired a 100 ohm 1/2 watt resistor in series with it to reduce the speed. It runs smoothly and quietly. A number of holes are drilled in the side of the case to allow a free flow of air. One switch is for the fan supply, the other for the anti-blooming circuit.

15 Kb

I can still fit the original lens for afocal use.

15 Kb

And my adaptor also fits fine. Because it's a snug fit over the lens holder, there is no air path from the fan into the telescope.

15 Kb

Ready for action!

15 Kb

POSTSCRIPT:

The cooling alas made little if any difference, so I eventually went back to the original case - smaller, a little lighter, and fewer wires trailing about. Never mind - it was fun while it lasted! :-)